主题
UV使用
修订记录
| 时间 | 内容 | 修订人 |
|---|---|---|
| 2026-04-20 | 创建 | 胡英万 |
一、UV安装
shell
https://github.com/astral-sh/uv/releases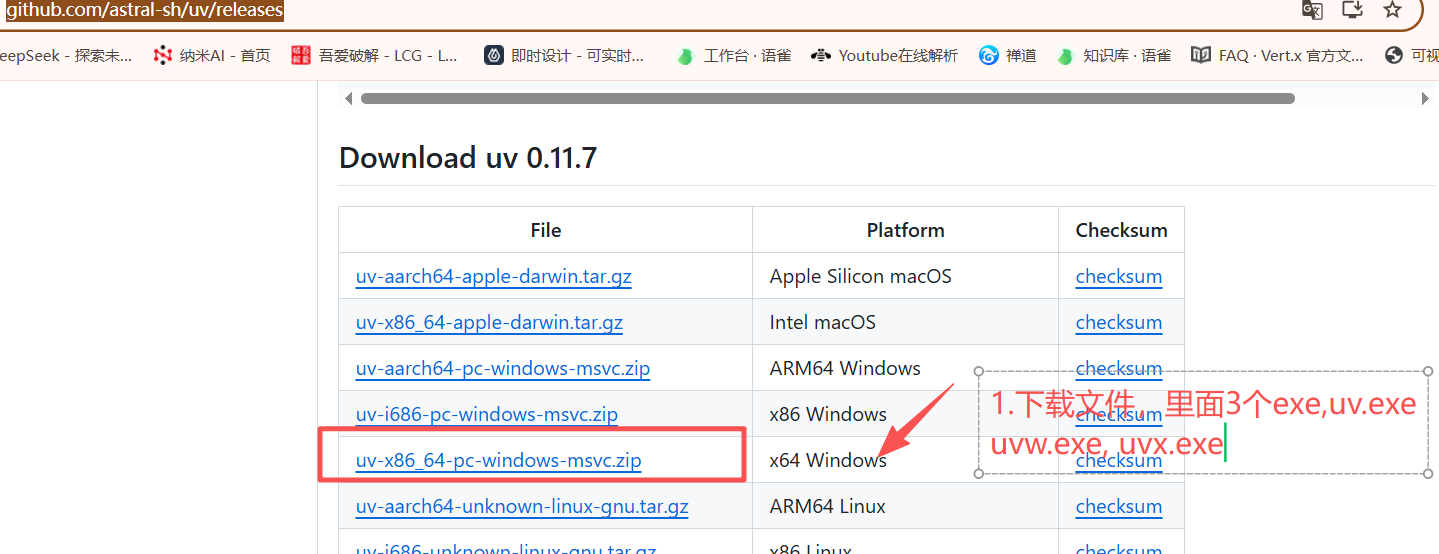
二、配置环境变量
#环境变量配置
UV_HOME=D:\software\uv
#python安装目录
UV_PYTHON_INSTALL_DIR ="D:\software\uv\python"
#缓存目录
UV_CACHE_DIR = "D:\software\uv\cache"
#工具目录
UV_TOOL_DIR = "D:\software\uv\tools"三、打开工程
##推荐方式1:
cd your-project
uv init                     # 生成 pyproject.toml
### uv init --python 3.12  #指定版本
uv add -r requirements.txt  # 将旧依赖导入项目
########################################################
##传统方式 缺点没有pyproject.toml
uv venv                     # 创建 .venv 虚拟环境
uv pip install -r requirements.txt # 安装依赖四、配置国内镜像源
%appdata%\uv\uv.toml文件
# 2. PyPI 源配置(用于加速下载第三方包,例如 `uv add numpy`)[reference:4]

[[index]]
# 腾讯云源
url = "https://mirrors.cloud.tencent.com/pypi/simple"
default = true

# 清华大学源(如果需要同时配置多个源作为备选,可以取消注释)
[[index]]
url = "https://pypi.tuna.tsinghua.edu.cn/simple"
default = true

# 阿里云源(如果需要同时配置多个源作为备选,可以取消注释)
[[index]]
url = "https://mirrors.aliyun.com/pypi/simple/"
default = true

# 1. CPython 代理配置(用于加速下载 Python 解释器本身,例如 `uv python install 3.12`)[reference:5]
python-install-mirror = "https://cnb.cool/astral-sh/python-build-standalone/-/releases/download/"